


Watch this video to see our high-performance single-shaft shredder blades deliver powerful and efficient wood shredding.
Ma'anshan Sheng Ao Heavy Industry Co., Ltd

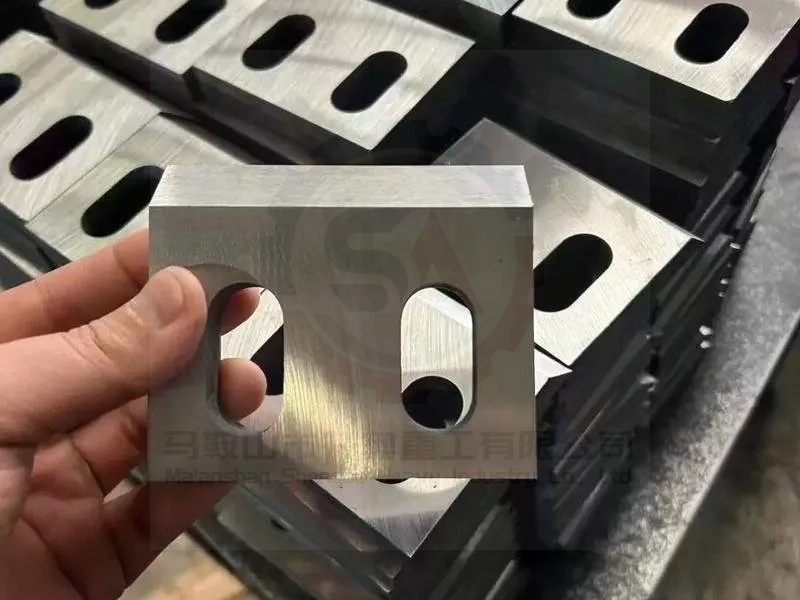
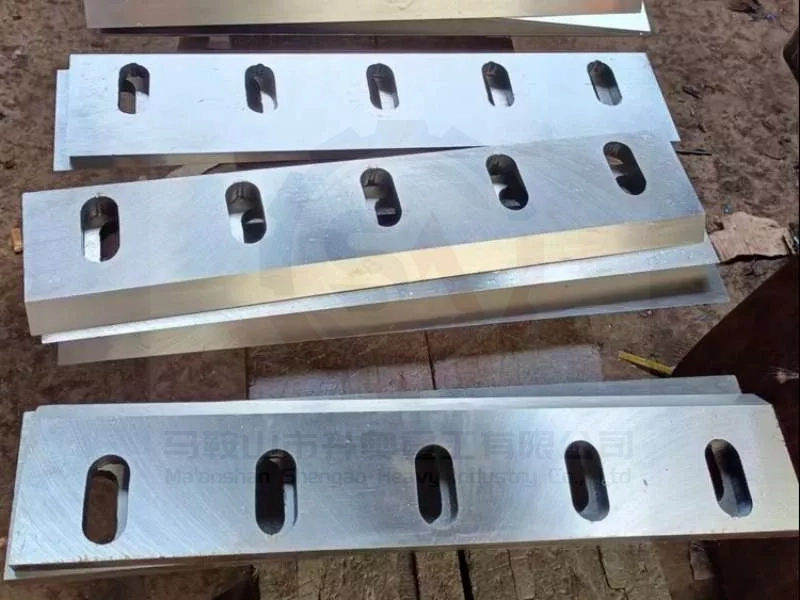
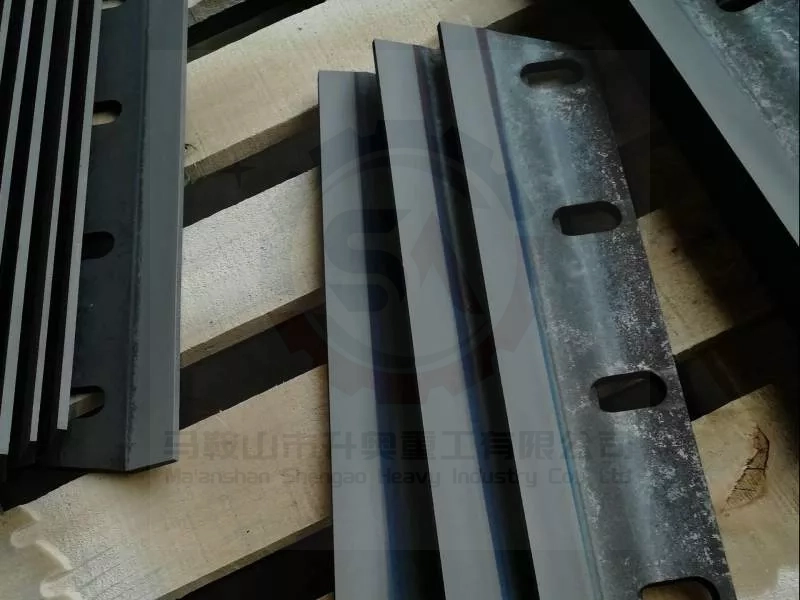
Boost recycling output with mirror-finished blades engineered for PET, PVC, and polymer reduction. Achieve 22% higher throughput and 14% energy savings per ton with optimized cutting geometry.
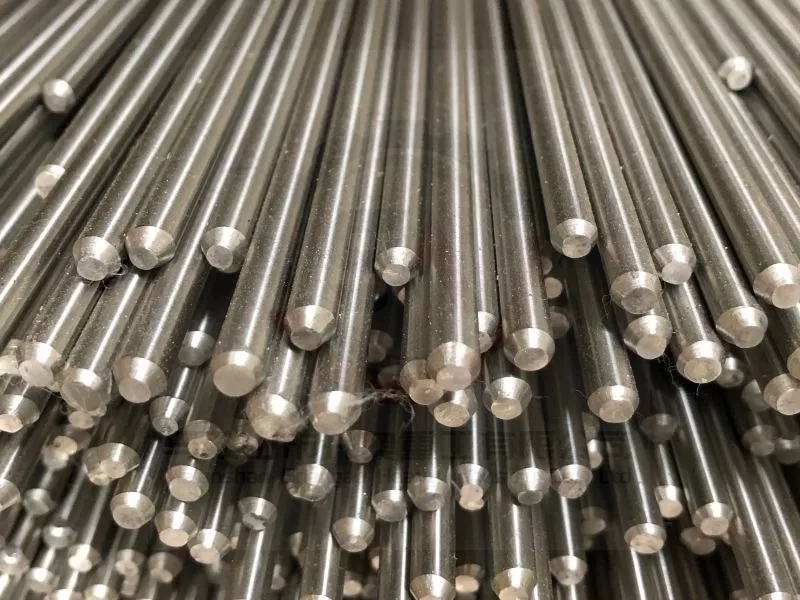
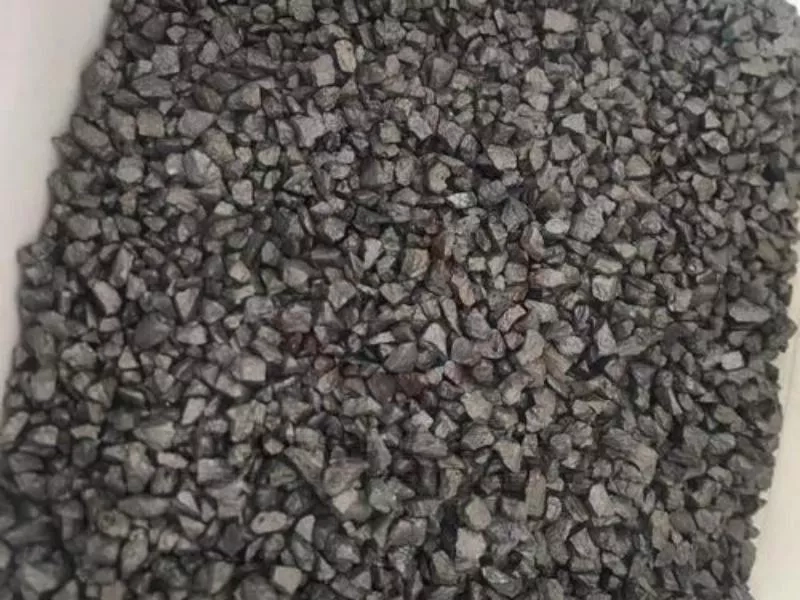
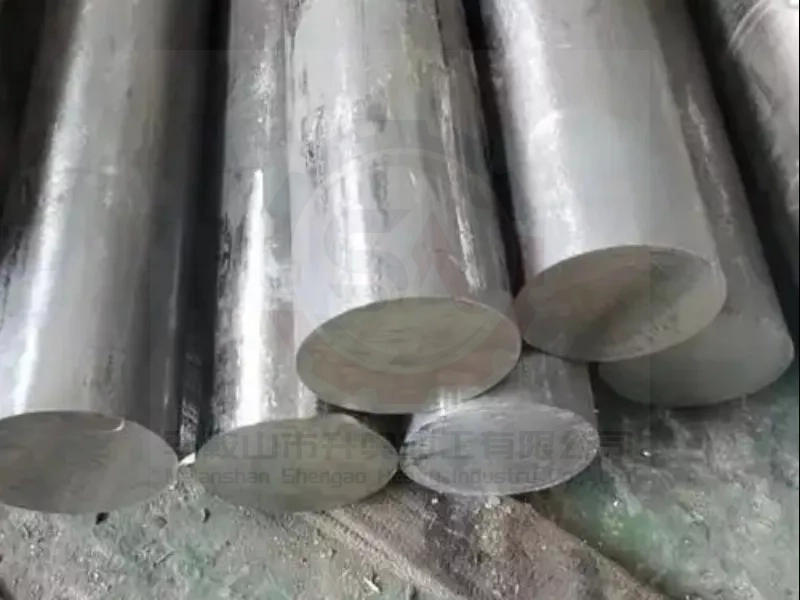
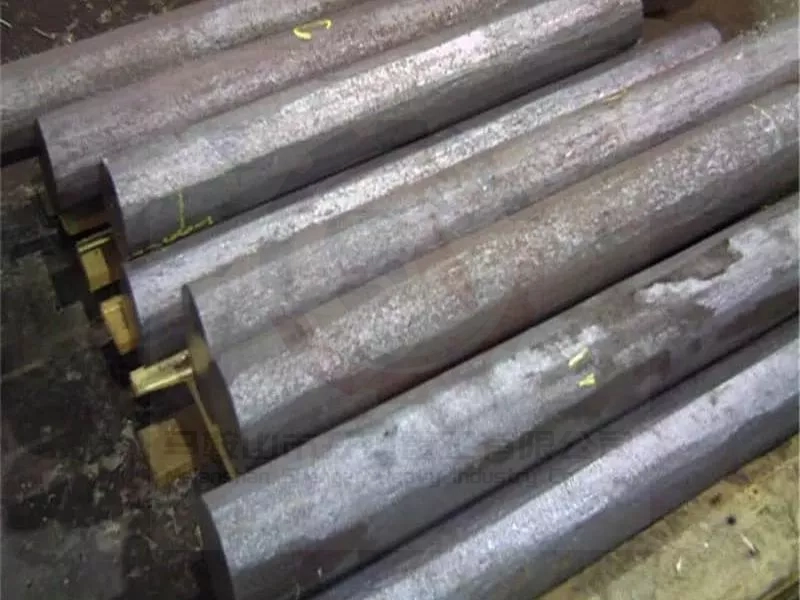
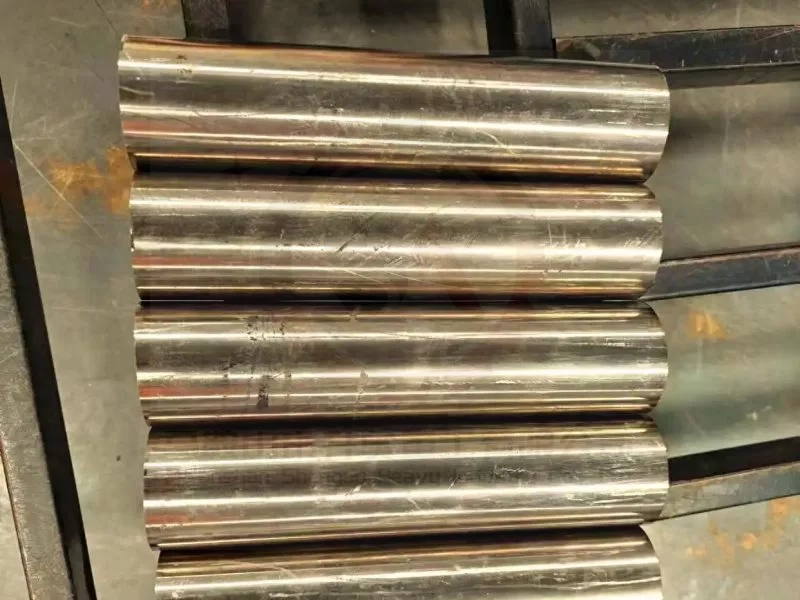
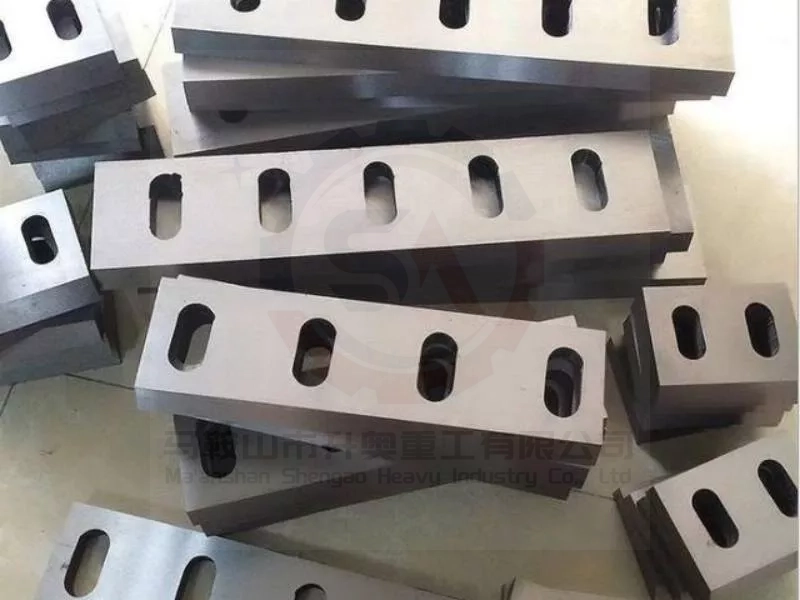
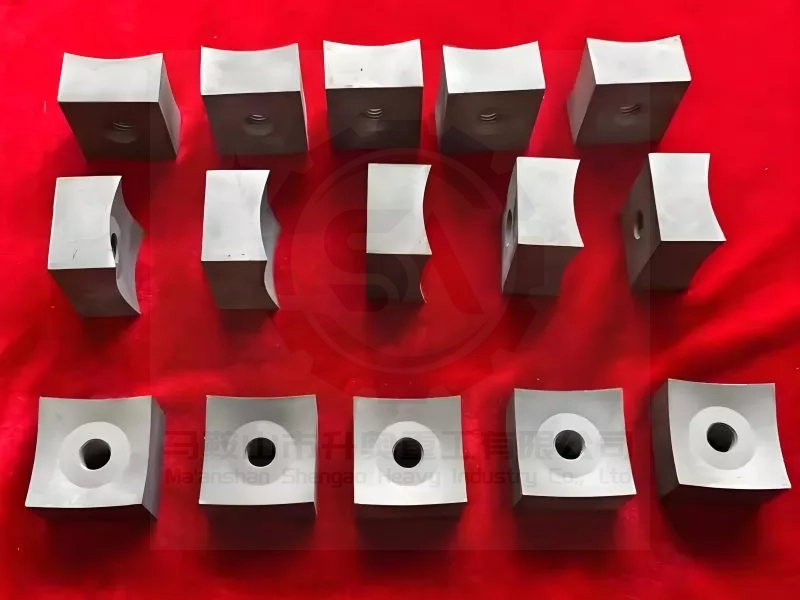
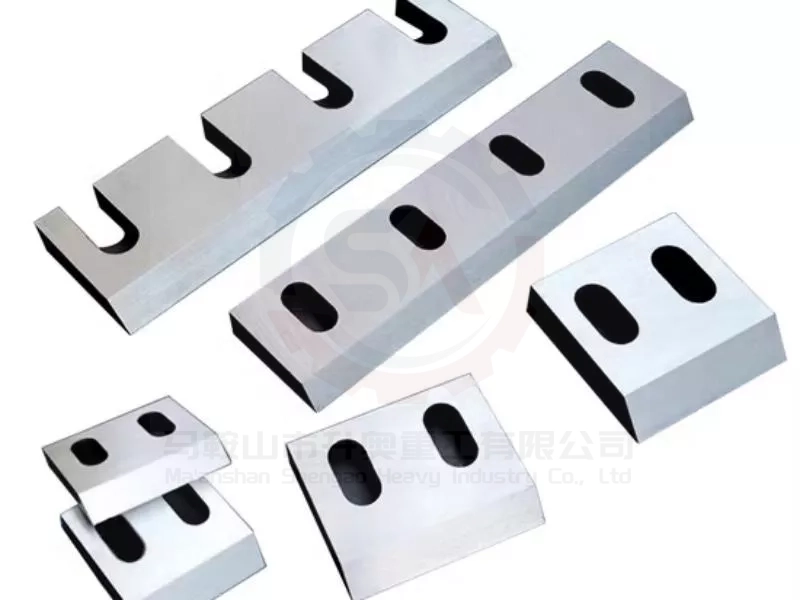
Customized from alloy steel, D2 tool steel, or carbide-tipped materials, our blades feature hardened edges (HRC 58–62) for extended service life. Tailored dimensions and tooth configurations prevent material wrapping and jamming.
Download our company brochures and product catalogs for detailed information
Comprehensive overview of our company, products, and manufacturing capabilities
Detailed specifications and production capabilities for our industrial blades
Support OEM/ODM services, producing items like slitting knives and cutting blades based on client drawings
Provides comprehensive data on blade specifications and complete dimensional data.
Premium cutting solutions for industrial applications
Premium cutting solutions for industrial applications
Premium cutting solutions for industrial applications
Premium cutting solutions for industrial applications
Our precision-engineered plastic granulator blades are designed for exceptional performance and extended longevity in the most demanding industrial recycling and size reduction applications. Crafted from premium materials including alloy steel, D2 tool steel, and carbide-tipped composites, our blades deliver superior cutting efficiency for diverse plastics ranging from PET and PVC to engineered polymers and composite materials. Featuring specialized mirror finishes and geometrically optimized cutting edges, our blades reduce operational friction, prevent material wrapping and jamming, and ensure up to 22% higher throughput with 14% energy savings per ton processed. With fully customizable dimensions, tooth configurations, and hardened edges (HRC 58–62), we provide tailored solutions for your specific granulation requirements and machine specifications, ensuring maximum ROI and reduced total cost of ownership.
Send Inquiry Now

Our high-performance plastic granulator blades are engineered to deliver unmatched efficiency and durability across a wide spectrum of industrial sectors. These precision-crafted blades are the cornerstone of efficient size reduction, transforming various plastic materials into uniform granules that optimize production workflows and enhance sustainability goals. In advanced plastic recycling operations, our blades excel at processing post-consumer and post-industrial waste, including PET bottles, HDPE containers, and plastic films, ensuring high-quality output for recycled content production. For plastic manufacturing facilities, our blades enable efficient in-house scrap recovery of production materials such as injection molding runners, sprues, and rejected parts, significantly reducing raw material costs. In virgin resin production and compounding operations, our specialized blades handle raw plastic materials and sophisticated additive mixtures with precision, ensuring perfect pelletizing for quality-critical applications. Additionally, our blades serve demanding specialized applications in laboratory research, chemical processing, and masterbatch manufacturing, delivering consistent particle size distribution, reduced energy consumption, and superior material quality across all processing sectors.


Proper plastic shredder blade installation is crucial for equipment efficiency and operational safety. Follow this essential step-by-step guide to ensure optimal performance and safe blade replacement.

Why This Matters? Following these steps enhances equipment longevity, reduces downtime, and prioritizes operator safety. For more detailed guidelines, refer to industrial safety standards and machine-specific manuals.
Ensuring safety and efficiency in industrial operations starts with proper equipment preparation. Here are the key steps for plastic crusher safety and maintenance, optimized for search engine visibility:
1. Power Disconnection & Initial Safety Check
Always begin by completely cutting off the power supply to the crusher. This critical step prevents accidental startup and ensures operator safety during maintenance. Verify that the power is disconnected at the source and use lockout/tagout procedures if applicable.
2. Material Clearance & Cavity Cleaning
Open the feeding port and protective cover, then lower the screen rack. Manually rotate the balance wheel or blade架 to thoroughly empty all residual plastic materials from the crushing chamber. This eliminates potential interference with new material and reduces risks during trial runs.
3. Tool Preparation & Lubrication
Gather all necessary tools, including wrenches (e.g., 24mm, 14mm, or specialized blade installation wrenches), brushes, or air guns for cleaning. Apply lubricants if required to maintain smooth operation. Proper tools ensure efficient and safe maintenance procedures.

Why This Matters: Proper blade handling extends equipment life, reduces repair costs, and ensures operational safety. Follow manufacturer guidelines for model-specific instructions.
1. Disassemble Fixed Blades on Front/Rear Body
Use appropriate tools (e.g., wrenches or screwdrivers) to remove the lock blade screws and detach fixed blades from both front and rear crusher bodies. For older models, preliminary steps may include dismantling the motor and rear cover plate to access blade components safely.
2. Extract Moving Blades from Blade Holder
Carefully remove moving blades from the blade holder. If screws are overly tight or stripped, apply a moderate amount of lubricant to ease disassembly. For severely worn screws, replace them immediately to prevent operational failures and ensure crusher stability.
Pro Tips for Efficiency & Safety:
·Always disconnect power before blade maintenance to avoid accidental startup.
·Use protective gloves and tools to handle sharp blades, reducing injury risks.
·Regularly inspect screw conditions and replace worn parts to minimize downtime.

Why This Matters? Proper blade handling extends equipment life, reduces repair costs, and ensures operational safety. Follow manufacturer guidelines for model-specific instructions.
1. Disassemble Fixed Blades on Front/Rear Body
Use appropriate tools (e.g., wrenches or screwdrivers) to remove the lock blade screws and detach fixed blades from both front and rear crusher bodies. For older models, preliminary steps may include dismantling the motor and rear cover plate to access blade components safely.
2. Extract Moving Blades from Blade Holder
Carefully remove moving blades from the blade holder. If screws are overly tight or stripped, apply a moderate amount of lubricant to ease disassembly. For severely worn screws, replace them immediately to prevent operational failures and ensure crusher stability.
Pro Tips for Efficiency & Safety:
•Always disconnect power before blade maintenance to avoid accidental startup.
• Use protective gloves and tools to handle sharp blades, reducing injury risks.
• Regularly inspect screw conditions and replace worn parts to minimize downtime.

Why This Matters: Precise blade installation maximizes crushing efficiency, reduces energy consumption, and extends equipment lifespan. Always follow manufacturer guidelines for model-specific requirements.
Correct installation order is critical for plastic crusher efficiency and safety. Always install fixed blades first, followed by moving blades to ensure precise alignment and operational stability .
1.Installing Front Fixed Blades
•Orient blades with the logo side facing upward and the cutting edge directed inward toward the crushing chamber.
•Securely fasten using lock blade screws and fine-tune the positioning by adjusting the fixed blade screws for optimal front-to-back alignment .
2.Installing Moving Blades (Varies by Blade Type)
•For Flat/Claw Blades: Begin by installing left and right moving blades on the same plane. Rotate the blade holder to observe the alignment between moving and front fixed blades. Adjust the gap using fixed blade screws while ensuring both moving blades are symmetrically positioned. Avoid disturbing the pre-adjusted front fixed blades during this process.
•For Sheet Blades: Start with the right (or left) moving blade. Rotate the balance wheel to check the blade gap and adjust accordingly without altering the front fixed blades.
3.Installing Rear Fixed Blades
•Position the blade with the logo side up and the cutting edge facing inward. Temporarily secure with lock blade screws and adjust the placement via screws. Rotate the balance wheel to verify that left/right moving blades pass through smoothly with consistent gaps. Tighten all screws without modifying previously adjusted front fixed or moving blades.
4.Installing Remaining Moving Blades
•Install all remaining moving blades one by one. After each installation, rotate the balance wheel to confirm seamless movement between front and rear fixed blades with uniform gaps. Avoid adjusting fixed blades during this phase.
Pro Tips for Success:
• Maintain minimal blade gaps (ensuring no contact) regardless of material thickness—smaller gaps enhance cutting efficiency.
• Perform final torque checks on all screws to prevent loosening during operation.
• Conduct a test run without material to detect abnormalities before full operation.

Industry Insight: Proper blade alignment prevents material jamming, reduces downtime, and supports sustainable recycling operations. Always consult manufacturer guidelines for model-specific specifications.
Mastering Blade Clearance: Key to Optimal Crusher Performance
A critical misconception in plastic crusher maintenance is adjusting blade gap based solely on material size. This approach reduces cutting efficiency and increases energy consumption. The correct principle: maintain the smallest possible gap between moving and fixed blades without contact—ensuring tight yet collision-free alignment for superior shredding results. Ideal clearance typically ranges from 0.15-0.24mm, regardless of material thickness .
Why Precision Matters:
•Maximized Cutting Efficiency: Minimal gap reduces plastic tearing, ensuring clean, uniform fragments.
•Reduced Power Consumption: Lower resistance decreases motor strain, saving energy.
•Extended Blade Life: Prevent premature wear caused by friction or loose alignment.
•Consistent Output Quality: Achieve uniform particle size for downstream processing.
Pro Tip: Always measure gaps with a feeler gauge and verify clearance after tightening screws. For hard plastics (e.g., PVC pipes), lean toward the lower end (0.15mm); for softer materials (e.g., films), slightly larger gaps (up to 0.24mm) may suffice.

Industry Insight: Ensure your plastic crusher knife installation is perfect with our professional final inspection and testing protocol. Maximize efficiency and safety.
Ensure a flawless and safe operation of your plastic granulator by performing these crucial final checks after blade installation.
1.Final Torque Check & Manual Rotation
Conduct a final thorough tightening of all blade screws. Ensure there is absolutely no looseness. Then, manually rotate the balance wheel or blade holder for several full cycles. This critical step allows you to visually confirm that all moving blades pass through the fixed blades smoothly, maintaining proper blade gap clearance without any contact, rubbing, or collision.
2.No-Load Test Run & Formal Operation
Close and secure the screen frame and feed hopper. Power on the machine and initiate a slow, gradual start. Allow the granulator to run under no-load conditions (without material) for a period of time. Listen intently for any unusual noises, vibrations, or irregularities which could indicate an installation issue. Only after confirming smooth and quiet no-load operation should you proceed to feed a small amount of material for a final operational test.
Find answers to common questions about our high-performance plastic granulator blades
Our high-performance plastic granulator blades are engineered from advanced materials to ensure maximum durability and cutting efficiency:
Each material undergoes specialized heat treatment and precision grinding to achieve optimal performance characteristics .
Selecting the optimal plastic granulator blades depends on several critical factors:
Our engineering team provides customized recommendations based on your specific material, machine type, and production requirements.
Proper maintenance ensures extended blade life and optimal performance:
Following a structured maintenance schedule can reduce operational costs by up to 40% and extend blade lifespan significantly.
Yes, we specialize in fully customizable plastic granulator blades tailored to your specific requirements:
Our engineering team can develop prototypes within 2-3 weeks, with minimum order quantities available for custom designs
Our plastic granulator blades serve diverse industrial applications worldwide:
We provide specialized blade solutions for each industry's unique material challenges and production requirements.
Discover insights and innovations in industrial blade technology
Watch this video to see our high-performance single-shaft shredder blades deliver powerful and efficient wood shredding.
Watch this video to discover the science of plastic granulator blade geometry and how it optimizes shear angles for maximum cutting efficiency.

Watch this video to see how our custom-engineered single shaft shredder blades maximize efficiency and throughput in your recycling operation.